

Text Styling
Working with Text and Fonts isn’t just about finding the right words to match your art…
It’s also important to give your words the right style and flavor that will make your art pop!
Luckily for you, Drawing Desk offers you a complete set of Text and Calligraphy features, on Sketch Desk, Doodle Desk and Photo Desk.
Styling and Formatting Your Text
To open the Text Editor Panel,
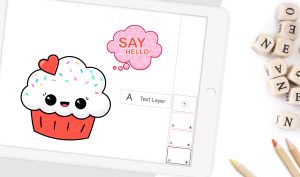
- Click on the Text (A) Icon above your canvas on Sketch Desk. On Photo Desk, the Font Icon will be on the left toolbar. On Doodle Desk, you will need to open a new Text Layer to activate the text tool unless font generator.
- Use the keyboard to type in what you want to say.
- Use the given features to format and style your words.
You can select any of the given icons above the keyboard to customize your text…
Font Styles: To select a font style, click on the 2nd icon, and scroll across available options. To import new fonts click the + icon at the bottom right corner.
Bold and Italics: Select the 3rd icon for a list of Bold and Italics options. Note that the available options will vary based on the font style you choose.
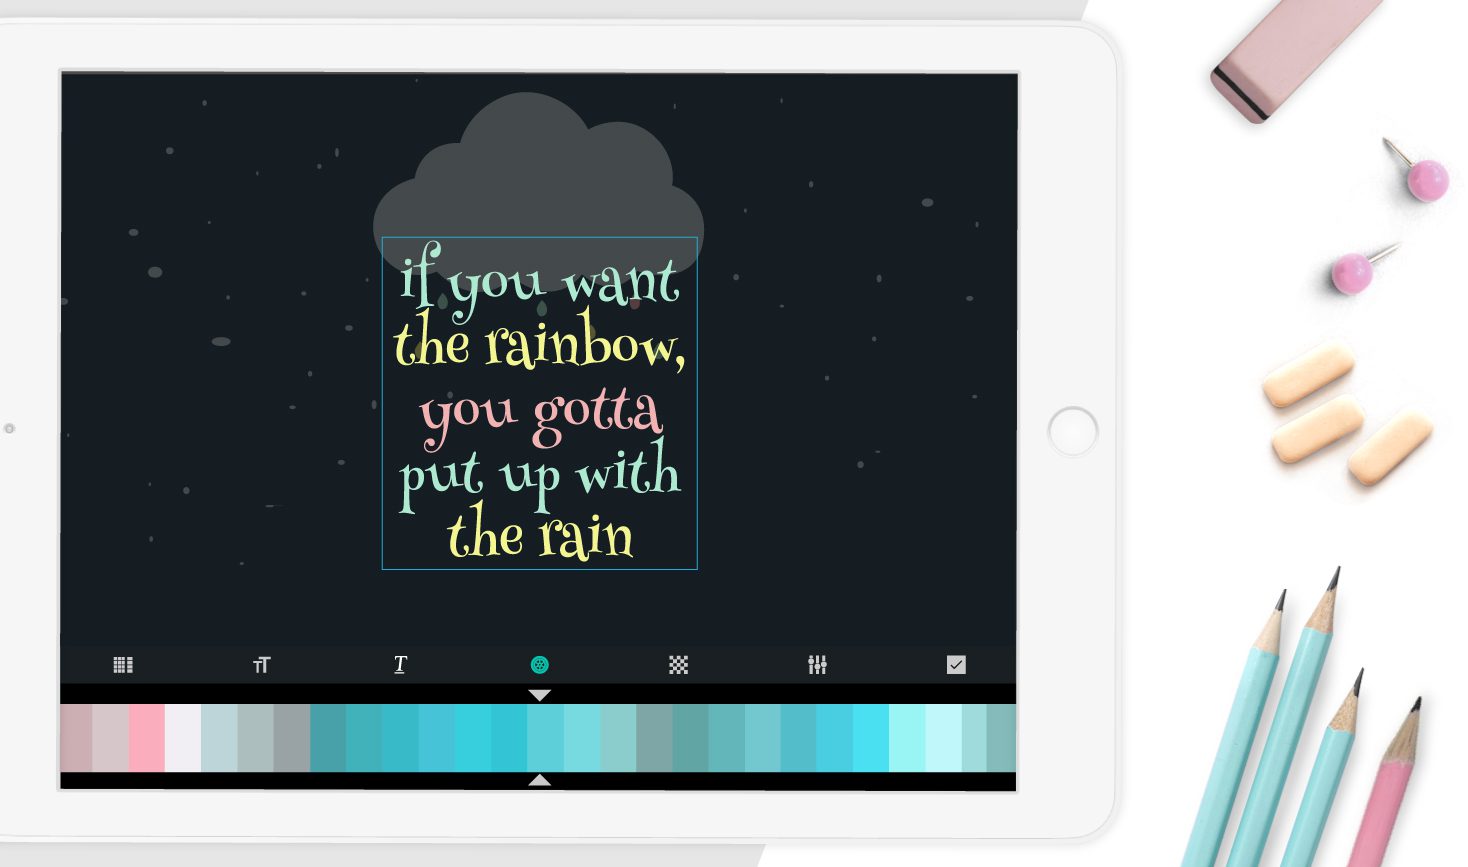
Font Colors and Patterns: Click on the 4th icon to choose a font color. Select the 5th icon to choose from a range of patterned and textured colors.
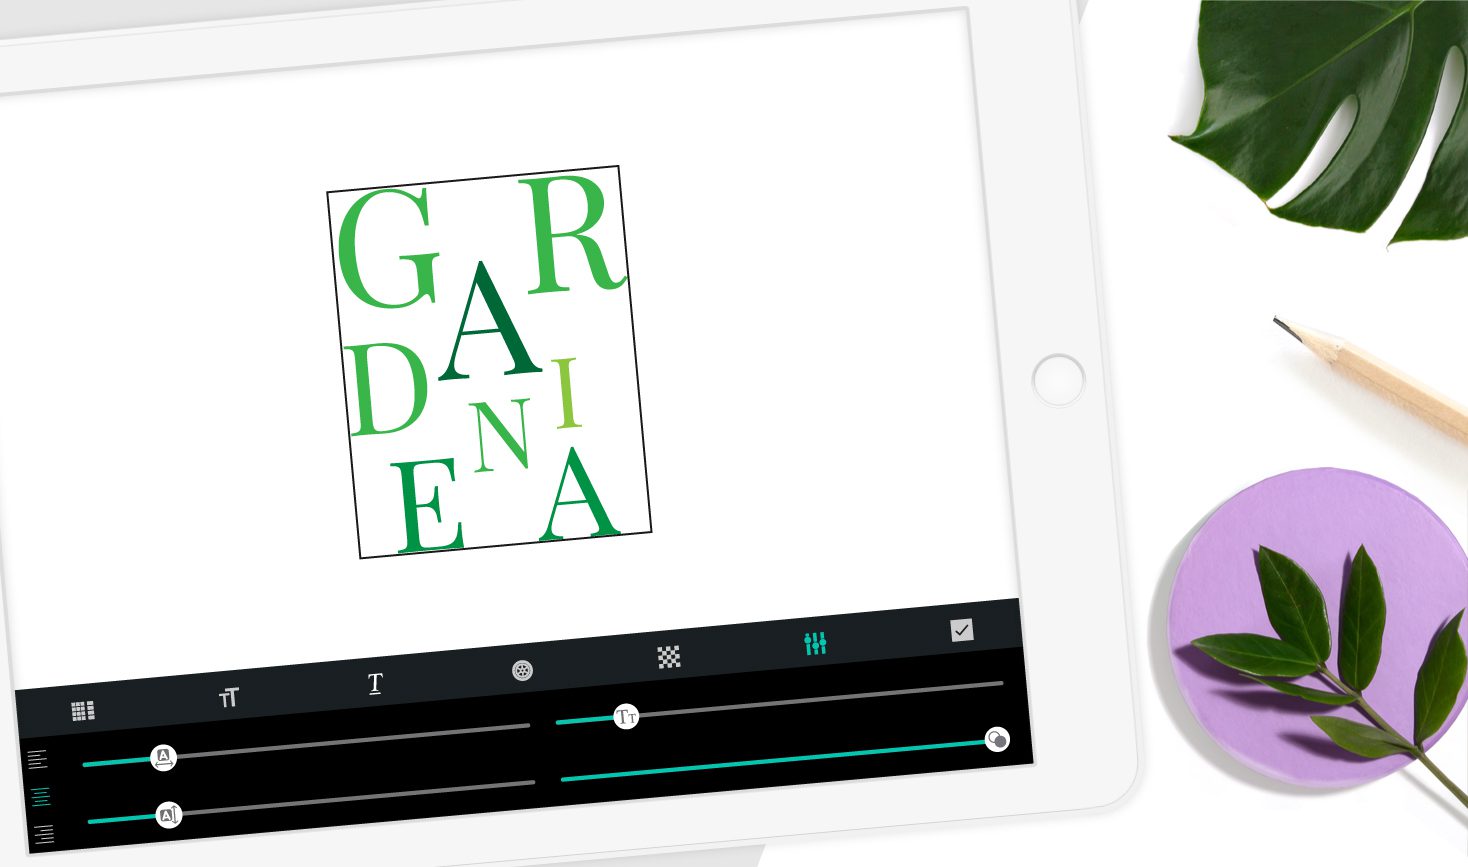
Scale Adjustments: Select the 6th icon to adjust the width, height, size and opacity of your font.
Adding Words to Your Canvas
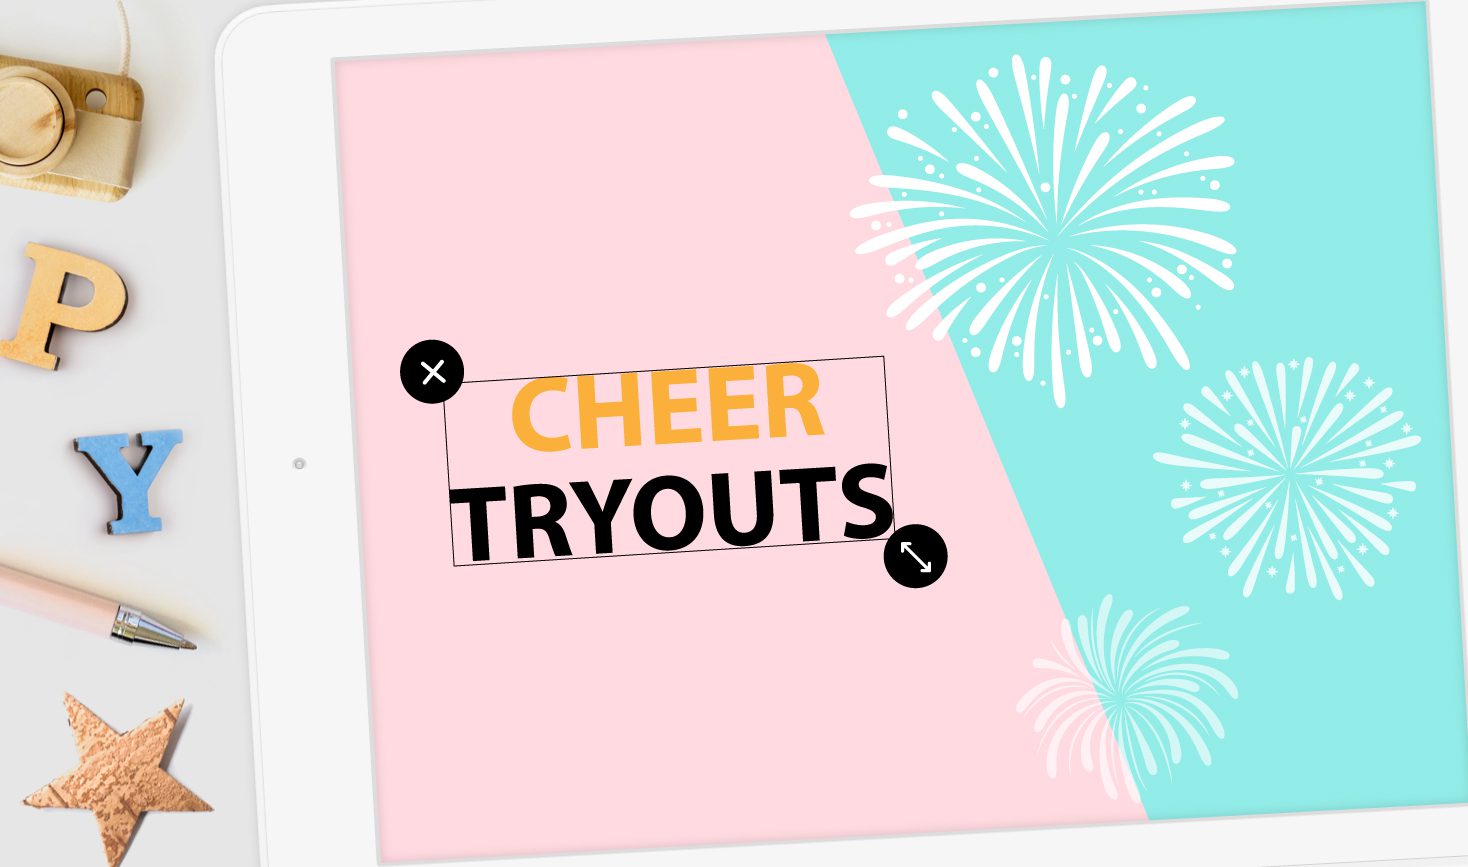
Add your words and letters by clicking the ✔ icon on the right side. They will appear within a textbox on your canvas.
Press and drag the arrow icon at the bottom of the textbox to resize and rotate your words. You can also drag the textbox around to position it anywhere on the canvas.
With your final adjustments made, you can click anywhere on the canvas to close the textbox.
To re-edit your words and letters after adding them onto the canvas,
- Tap the text once with two fingers to activate the textbox
- Double tap the text again, with one finger to open the Editor Panel for editing.
If you wish to delete the font, activate the textbox, and click on the X icon at the top corner of the box.
Working with Text Layers
Once you add words to your canvas, a new text layer will be created. This means that when making any changes to your font, you will need to select the relevant text layer first. This is important when working with multiple layers.
Here’s another tip…
The position of your text layer will affect how the words appear in your drawing.
- To draw over your font, your text layer should be below your drawing layer
- If you wish to have your words appear in front of your drawing, your text layer must be above your drawing layer.
To learn how to reposition and make additional changes to your text layer check out our Layers page here.
The Text and Calligraphy tool on Drawing Desk gives you the freedom to stylize and customize your word using any combination of features. It’s your best chance of adding the right flavor of font to any and every piece of art!