

Photo Editor
Sometimes your favorite photos need just the right touch-ups to make them really come alive. And whether you’re looking to cherish your best photo memories or create fun edits and graphics, a good set of editing tools are a must-have.
That’s why Drawing Desk includes its own little photo editing corner, Photo Desk, where you can import photos and make the best changes to your photos with ease!
So here’s a look at what’s in store for you on Photo Desk…
Live Brushes
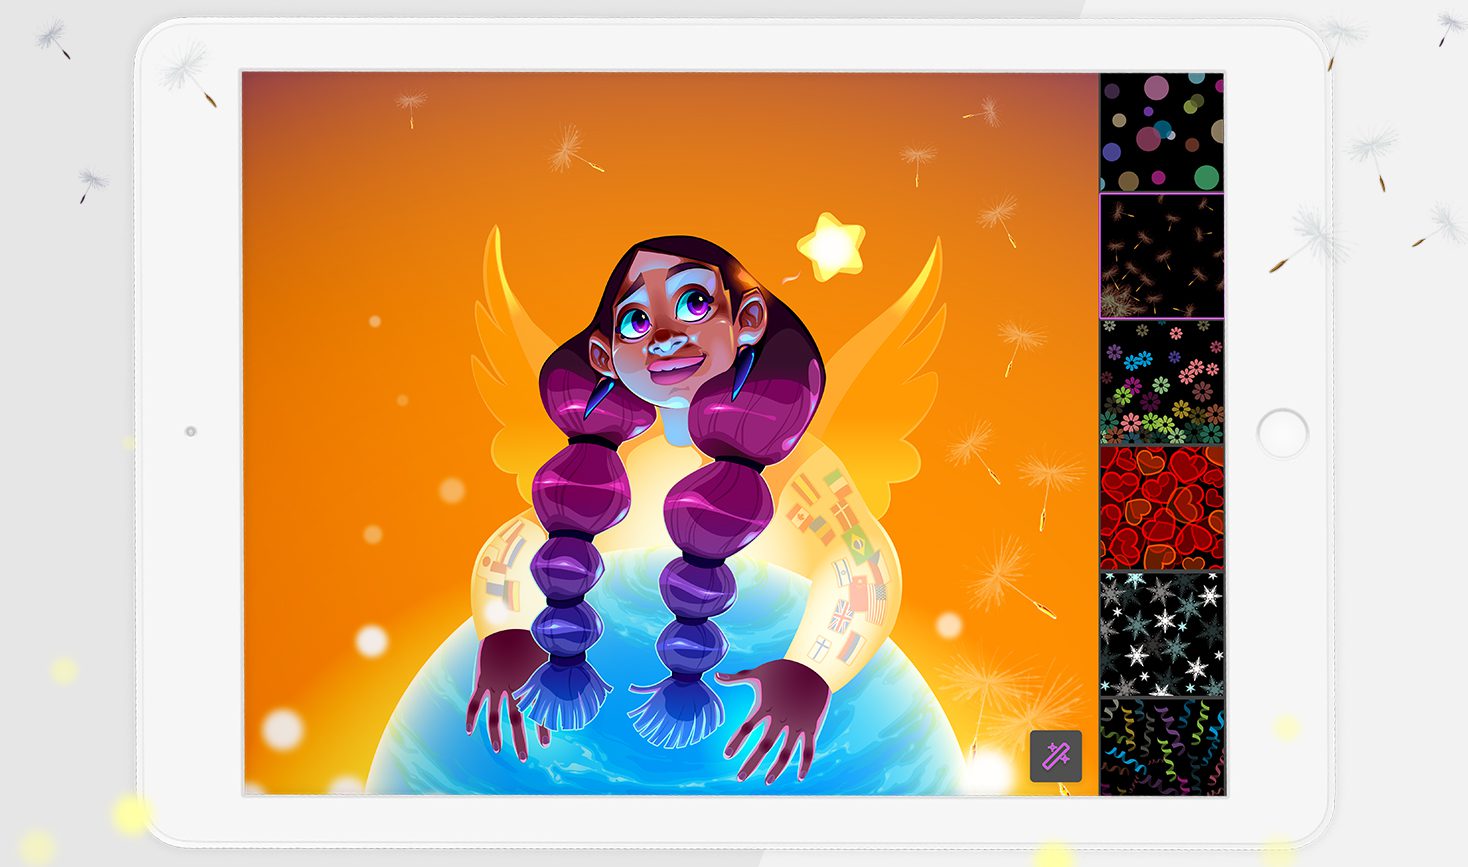
These are perfect for photo editing, giving you fun visual patterns and effects to liven your photos. You can scroll through and choose from a total of 20 different Photo Desk Live Brush patterns and effects. To use the Live Brush,
- Click on the Heart icon on the left side tool panel
- Select a Live Brush effect/pattern from the list given on the right side
- Tap or drag along your photo to apply the selected live effect
NOTE: You can undo your most recent Live Brush effects by clicking on the Live Brush icon from the left, and then selecting the Undo icon present in the pop-out menu.
Magic Brushes
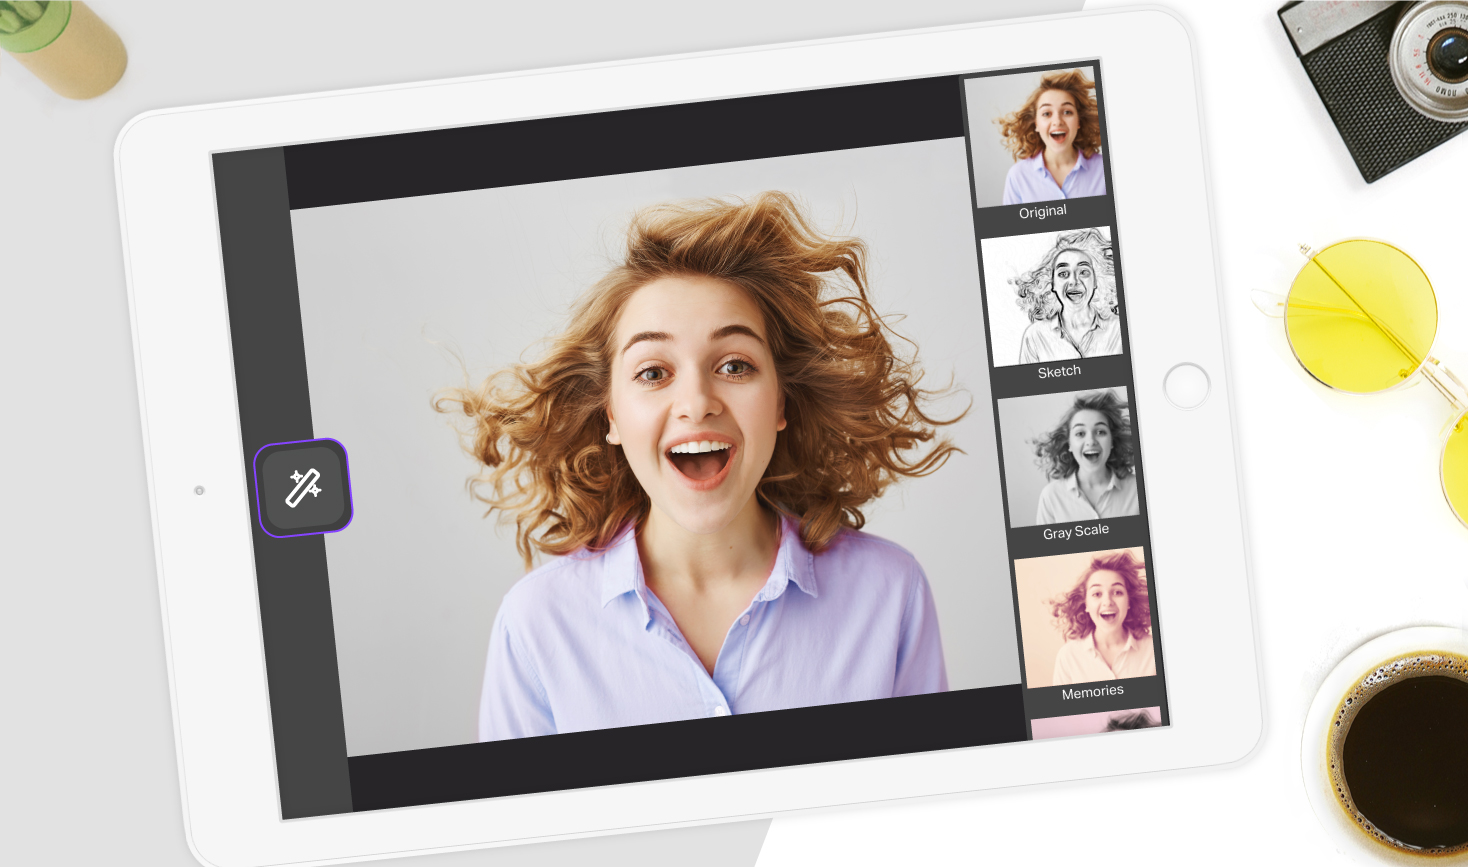
You can use this brush to apply a range of filters to improve your photo editing in just the right way. There are a total of 21 filters you can choose from on Photo Desk.
- Select the Magic Brush icon from the left side tool panel
- Scroll through the Filter menu on the right side and tap to select the filter you want
- You can then apply the filter to your photo in one of two ways. You can,
-
- Manually color the filter over a selected section of your photo
- Apply it across your entire photo at once. To do this,
-
-
- Click on the Magic Brush icon
- Select the Fill Bucket icon in the pop-out menu that appears
-
NOTE: The Magic Brush pop-out menu also includes,
- Undo and Redo buttons
- A slider for adjusting the size of the Magic Brush when applying filter effects manually
Photo Frames
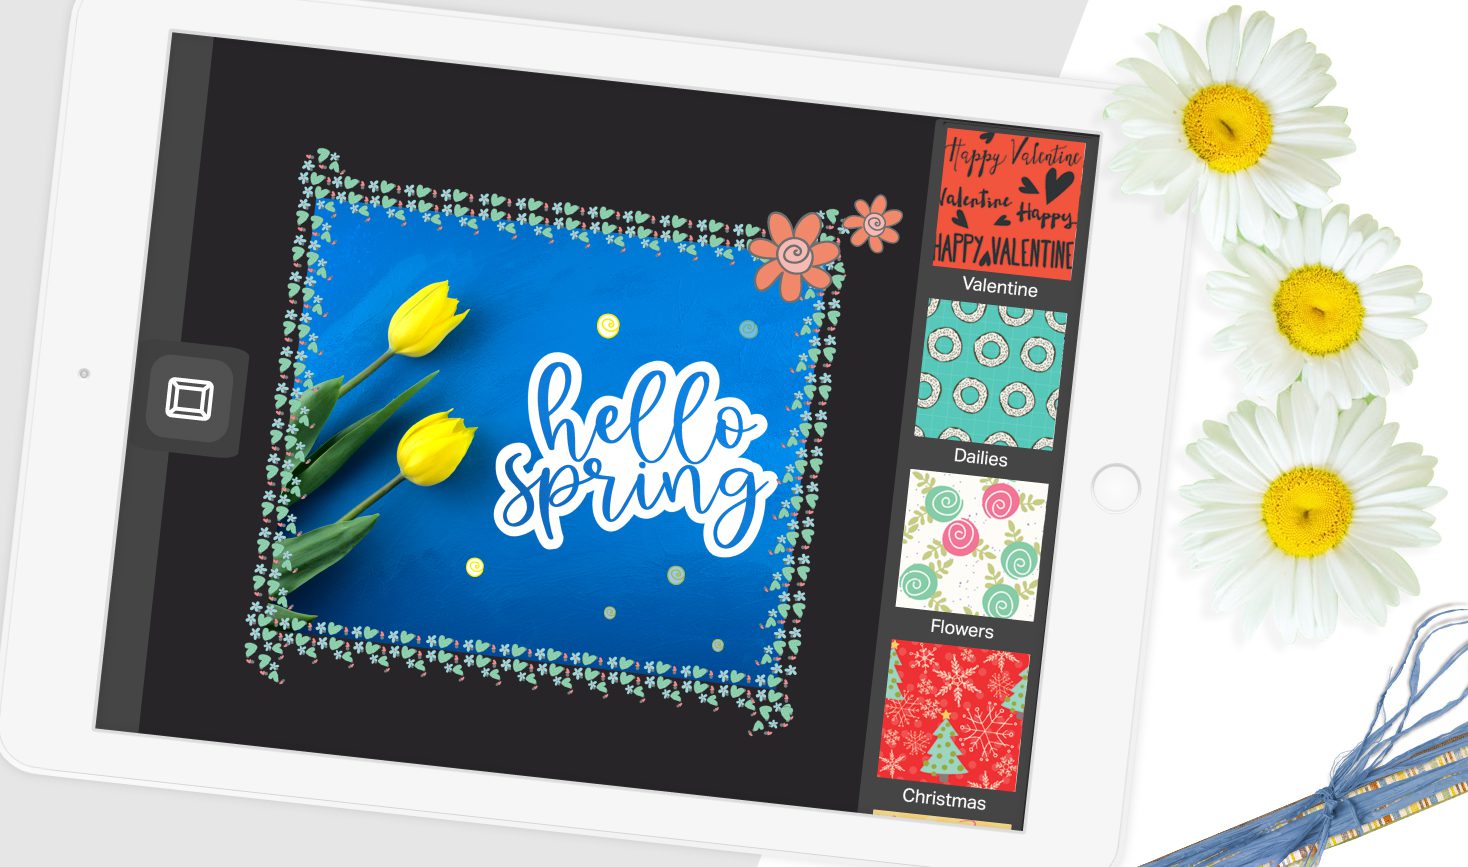
Photo Desk has a range of photo frames and borders you can choose from when decorating your favorite photos. You can select from five differently-themed sets of frames.
- Tap on the Frame icon from the left side panel
- Choose a theme from the top of the Photo Frames window
- Tap to apply the frame you want to apply to the photo
Layers
You can make use of the layers feature to switch your photo layers around, to make your photo editing easier and smoother. You’ll have three types of photo layers to work with on the Photo Desk,
- Brush Layer - for drawing over your photo with various brushes and drawing tools
- Text Layer - for including text onto your photo
- Sticker Layer - for adding stickers to your photo
To switch the order of one or more layers,
- Click on the Layers icon from the left side tool panel
- Press and hold a layer, then drag it up or down to where you want to position it
Photo Desk Brush Menu
This will come in handy when you need to draw over your photo manually. The following tools are available on the Photo Desk Brush menu and are at your fingertips for photo editing: pencil, pen, highlighter, angled highlighter, neon brush, and eraser.
To use the Brush menu,
- Click on the Brush tool icon from the left side menu
- Select one of the above mentioned tools
- Start drawing over your photo
NOTE: Undo and Redo functions are available at the end of the Brush menu as well. The available X button on the menu can be used to clear all brush strokes you’ve made on your photo.
Add Text To Photos
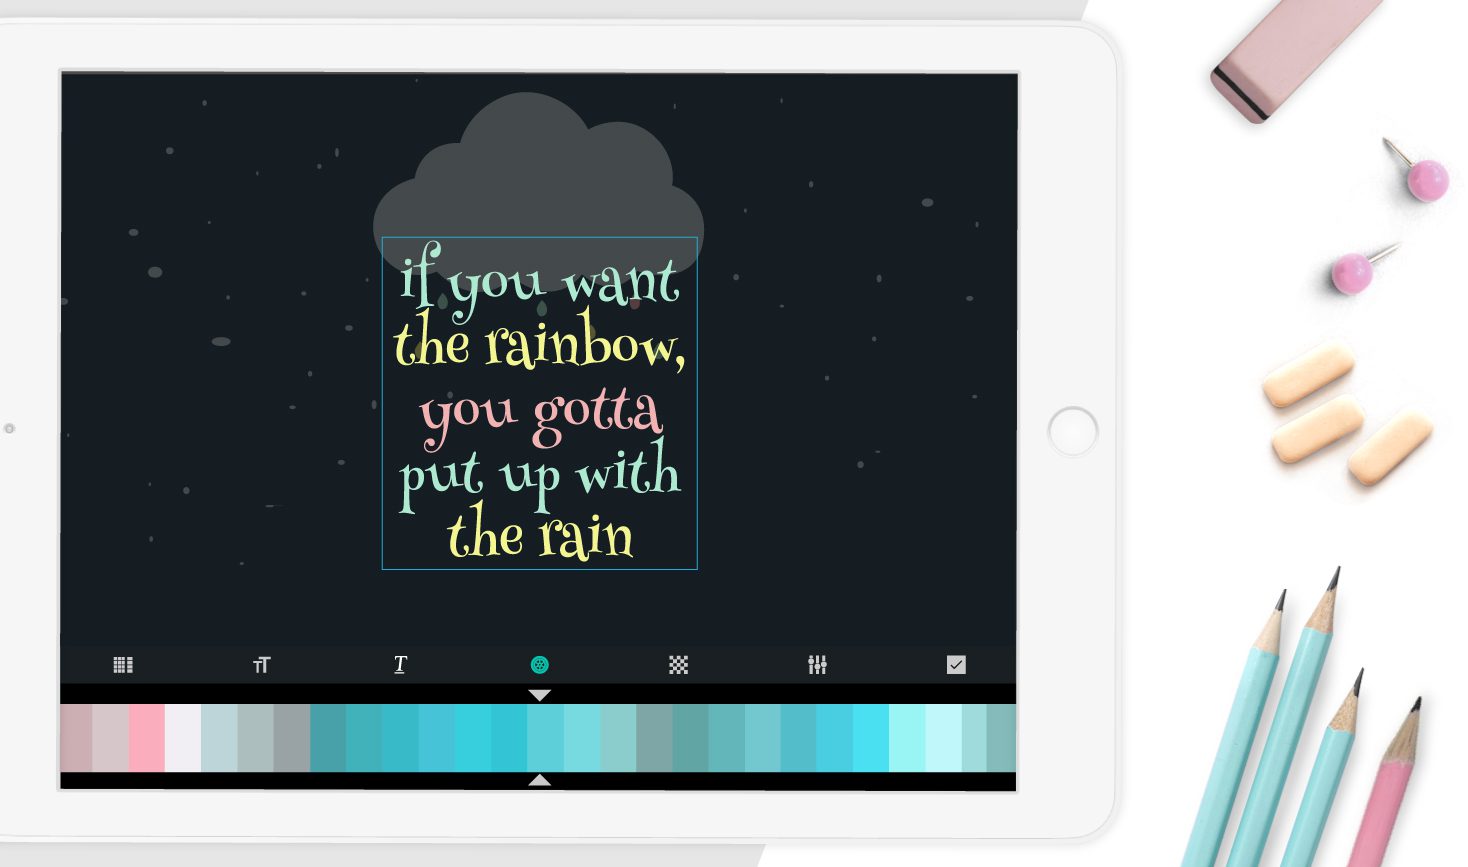
Adding text to your photos is a common requirement in photo editing. The Text tool on Photo Desk will help you add text to photos using a range of font styles, sizes, colors and other text effects.
To activate the Text tool simply click on the ‘A’ icon on the left side panel. You can then use the available keyboard to enter your text and then use the text editor functions to format it accordingly.
You can learn more about using the Text tool here.
Photo Desk Stickers
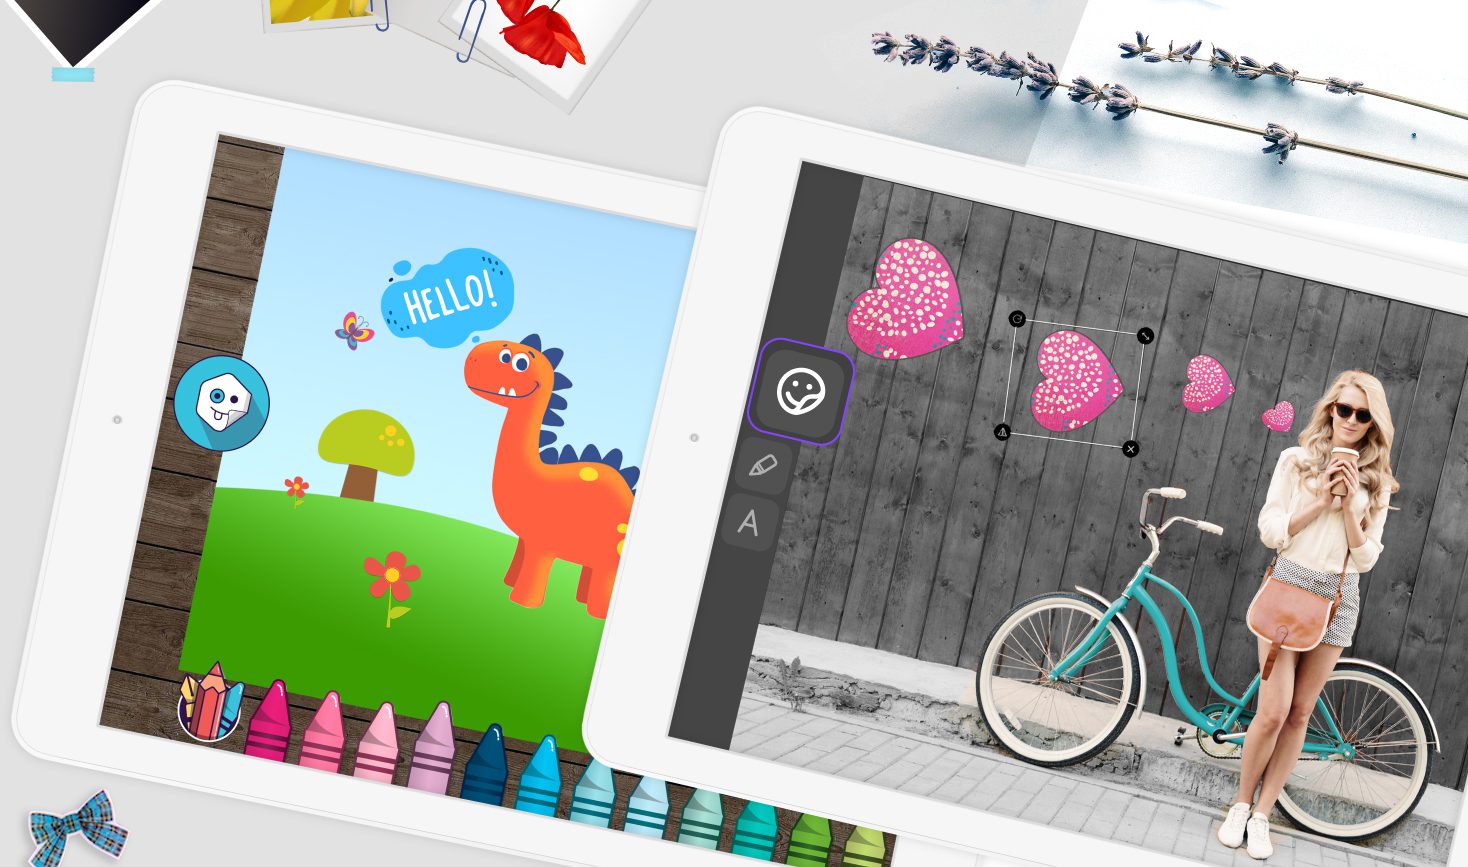
Our collection of Stickers is perfect for adding that extra touch of vibrancy when photo editing. You can browse through and take your pick from our various themed Stickers on the Photo Desk that cover a range of styles, visuals, and graphics.
- Click on the Sticker icon from the left panel
- Select a sticker theme from the top of the Sticker window
- Scroll through the available stickers and tap to select and apply the one you want directly onto your photo
- Drag to move and reposition your sticker on your photo. The available sticker controls can be used to rotate, resize and vertically flip your sticker
You can edit and reposition your sticker at any time. Tap on the sticker once to active the sticker box and controls
Additionally, you also have the option of changing the color of your stickers once you add stickers to photo,
- Tap once on your sticker to activate the sticker box and controls
- Click on the Fill Bucket icon below your photo to open the color picker window
- Select and adjust the colors you want to add stickers to photo
With all of these features available at hand, Photo Desk is definitely the place to be for smooth and easy photo editing on Drawing Desk!
Is Doodling more your style? Find out what Doodle Desk has to offer here.