

How To Make Layers
Layers can be really helpful for creating great digital art. They help you plan out every section of your drawing separately. In this way layers are often used to edit and perfect each element in your artwork in great detail.
The latest version of Drawing Desk brings you new and improved layer features to help you create perfectly detailed drawings.
The Drawing Desk app lets you work with layers on Sketch Desk, Doodle Desk and Photo Desk.
Using Layers on Sketch Desk and Doodle Desk
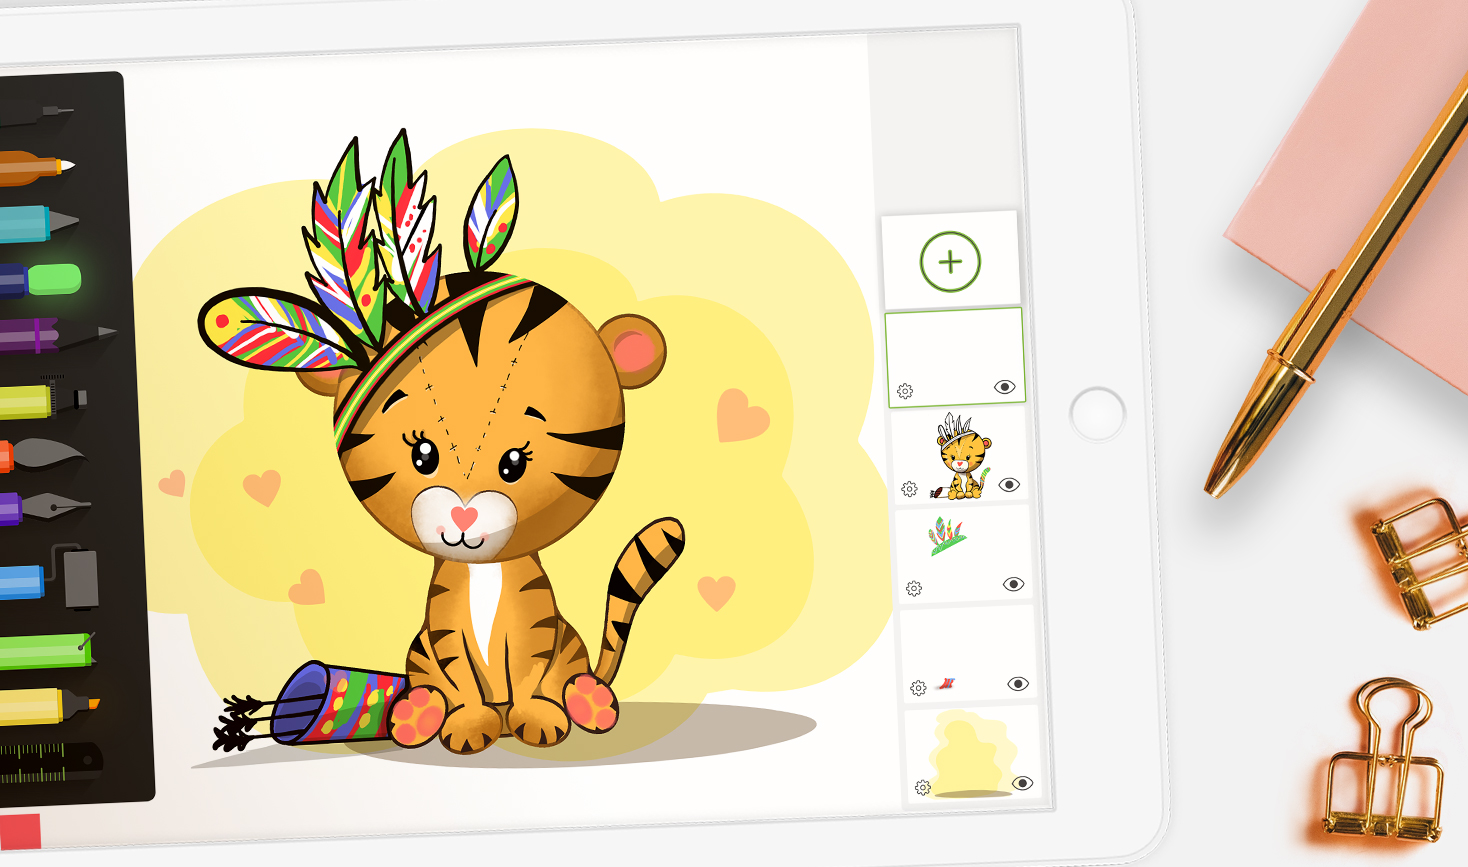
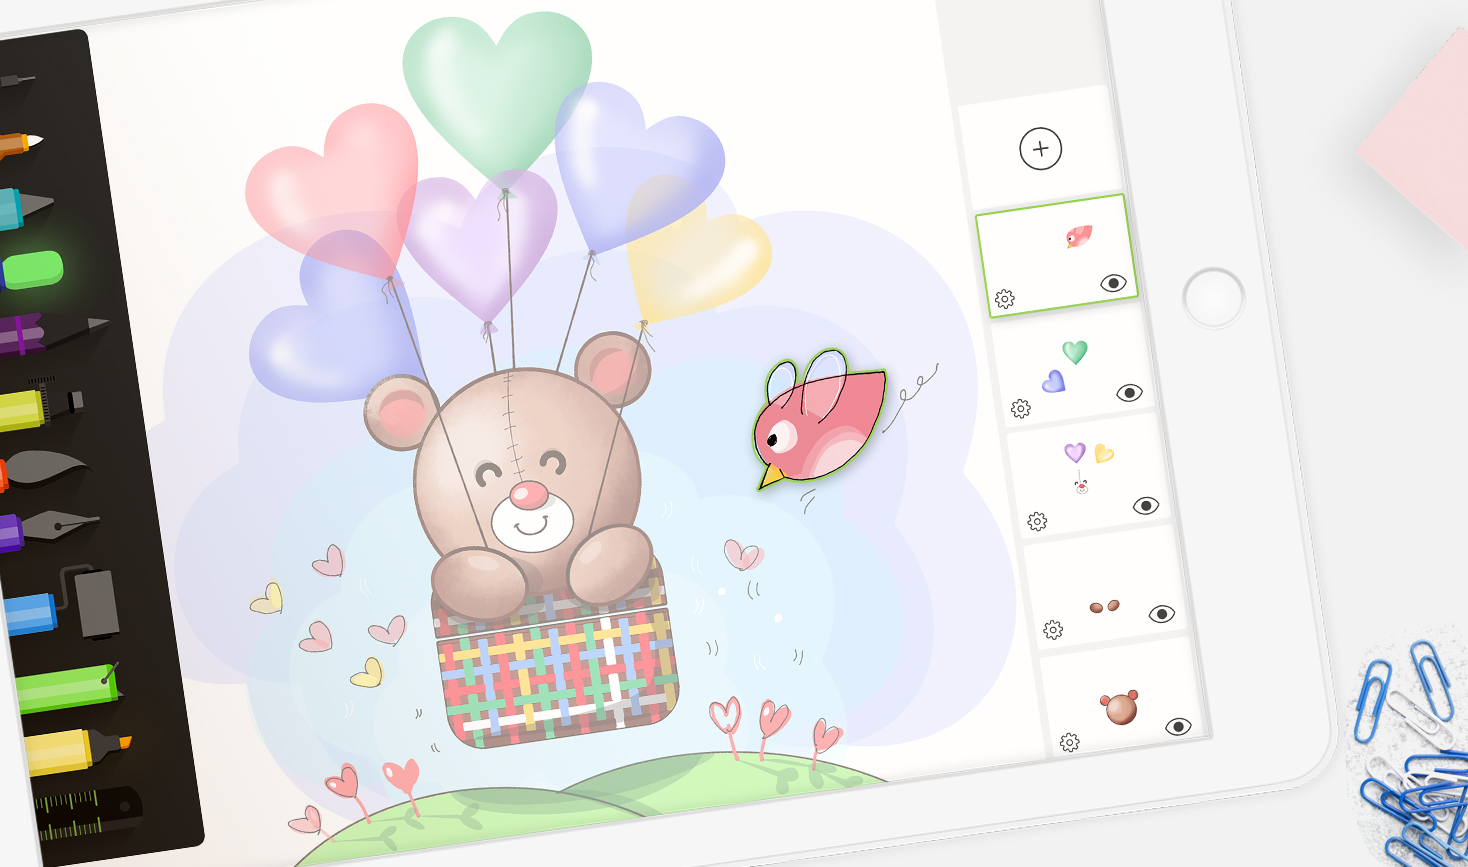
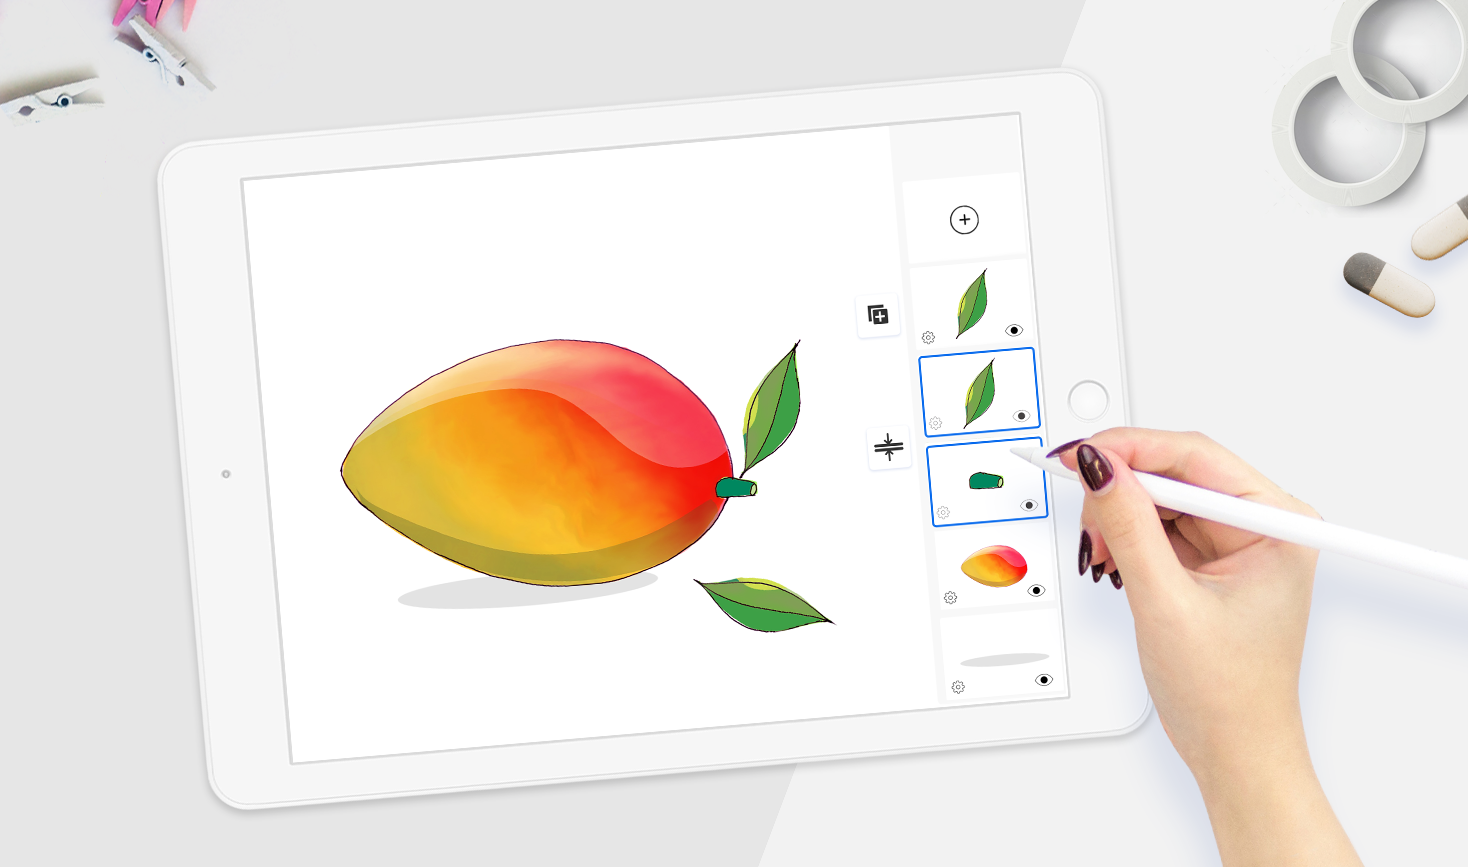
The Layers icon can be found at the bottom right corner of your canvas, on both Sketch and Doodle Desks. You can click on this icon to begin working with layers.
Adding a New Layer
- Click on the Layer icon
- After the layer pane opens, click on the + sign
- Select the type of layer you wish to add from the list given.
There are three Layer types you can add:
- Drawing Layers: For drawing with the given drawing tools on the left side toolbar, shape stencils and symmetry tools
- Text Layers: For adding typed text using the app’s Text tool
- Image Layer: For adding in and formatting imported images onto your canvas.
Doodle Desk offers you an additional Sticker Layer for working with the Stickers features exclusively on Doodle Desk.
Using Layers
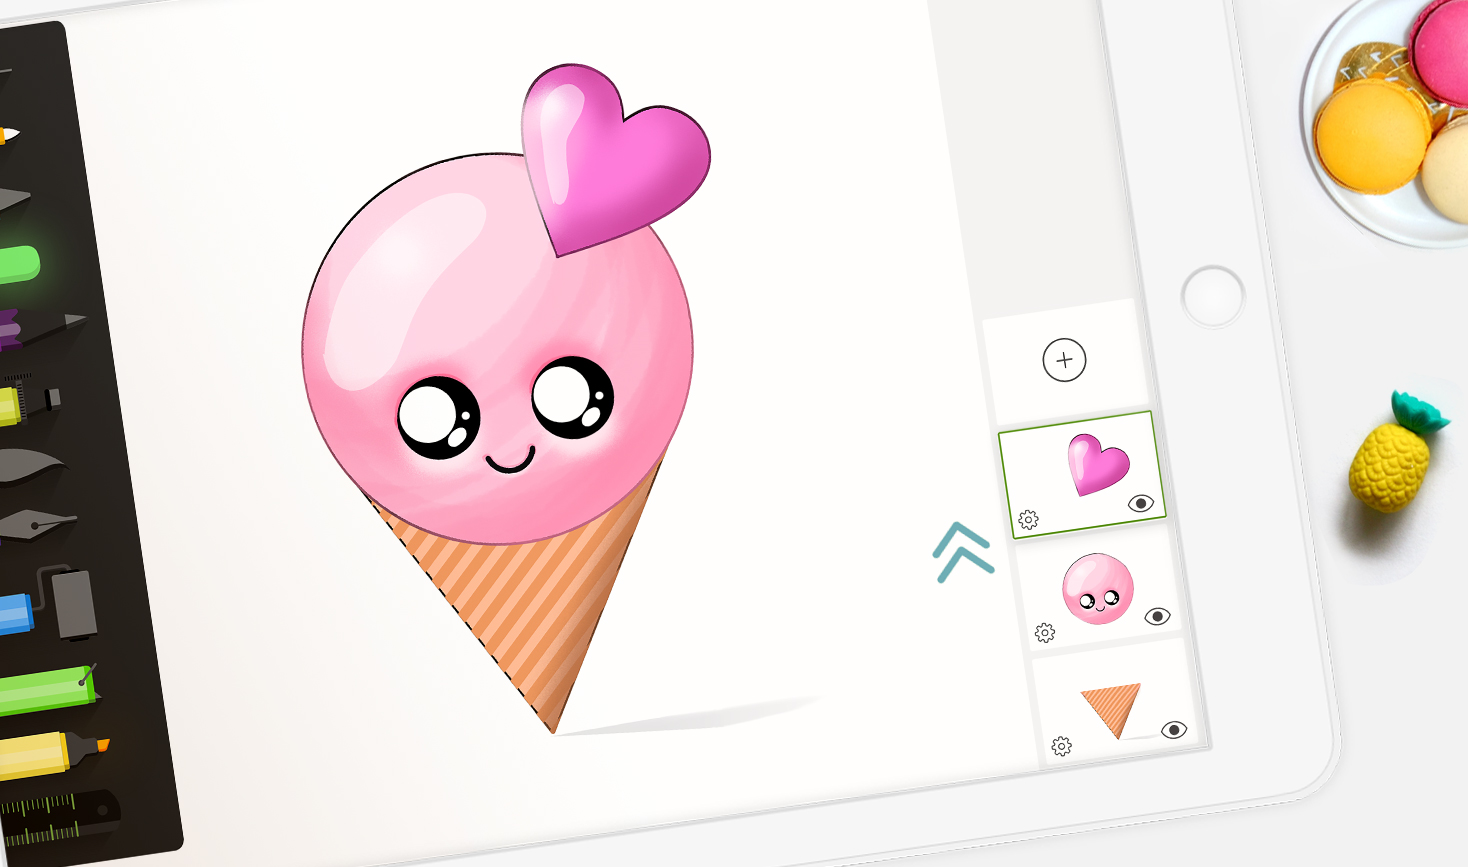
To begin working on a layer, tap the specific layer you wish to use. The selected layer will be highlighted with a blue border.
After you’ve selected a layer, you can add in new elements or make changes to your drawing based on the type of layer you’ve selected.
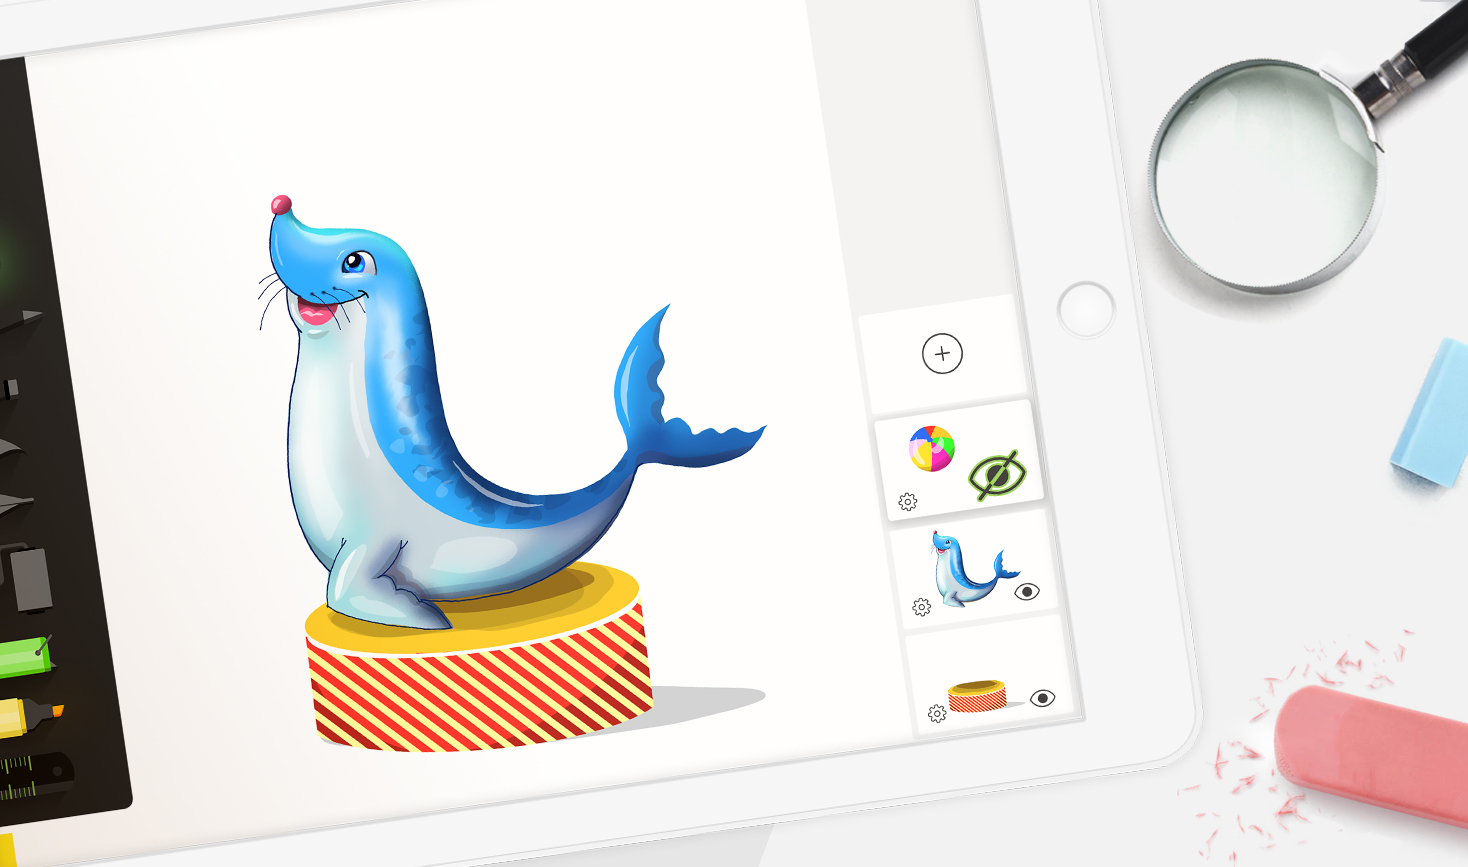
Apart from this, you can also hide layers and their content from your canvas as well. To do this, click on the Eye-shaped icon at the bottom right corner of the layer you want to hide. If you wish to make a hidden layer's content reappear. click on the same Eye-shaped icon.
Switching Layers
To switch up the order of the layers on your layer pane,
- Press and hold the layer you want to move
- Drag the layer up or down over the other layers to where you want to place it.
The order of your layers will affect how changes are made to your drawing. Because of this it is important to consider the position of each layer when drawing and editing.
Settings
The Layer settings offer more features and options for editing layers and their content. To open Layer settings,
- Click on the Layer icon at the bottom
- Click on the Settings icon at the bottom left corner of the layer you want to edit
- Select the feature you wish to use from the Settings list that appears
The Layer Settings menu offers several features. Our latest features include Layer Rasterize, Merge and Duplicate, which you can learn more about here.
Other key features on the Layer Settings include,
- Fill and Color Invert
- Horizontal and Vertical Flip
- Opacity adjustment
- Clear or Delete Layers
- Alpha Lock and Layer Lock
You can learn more about each of these features here.
Using Layers on Photo Desk
Photo Desk offers you 3 types of layers to work with:
- A Brush Layer: For working with the available drawing tools
- Text Layer: For adding typed text using the app’s Text tool
- Sticker Layer: For adding in Stickers available on Photo Desk.
The Layer icon is available on the left side menu - it is the fourth icon from top.
As with Sketch Desk and Doodle Desk, you can switch the order of the layers on Photo Desk…
- Simply press and hold the layer you want to move
- Drag the layer to the position you want to place it in
With all of the above Layer features available at your fingertips, you’ll be able to create artwork with amazing detail!
For more ideas on how you can make use of layers creatively, check out our YouTube channel here.
If you don’t have Drawing Desk yet, download it here.